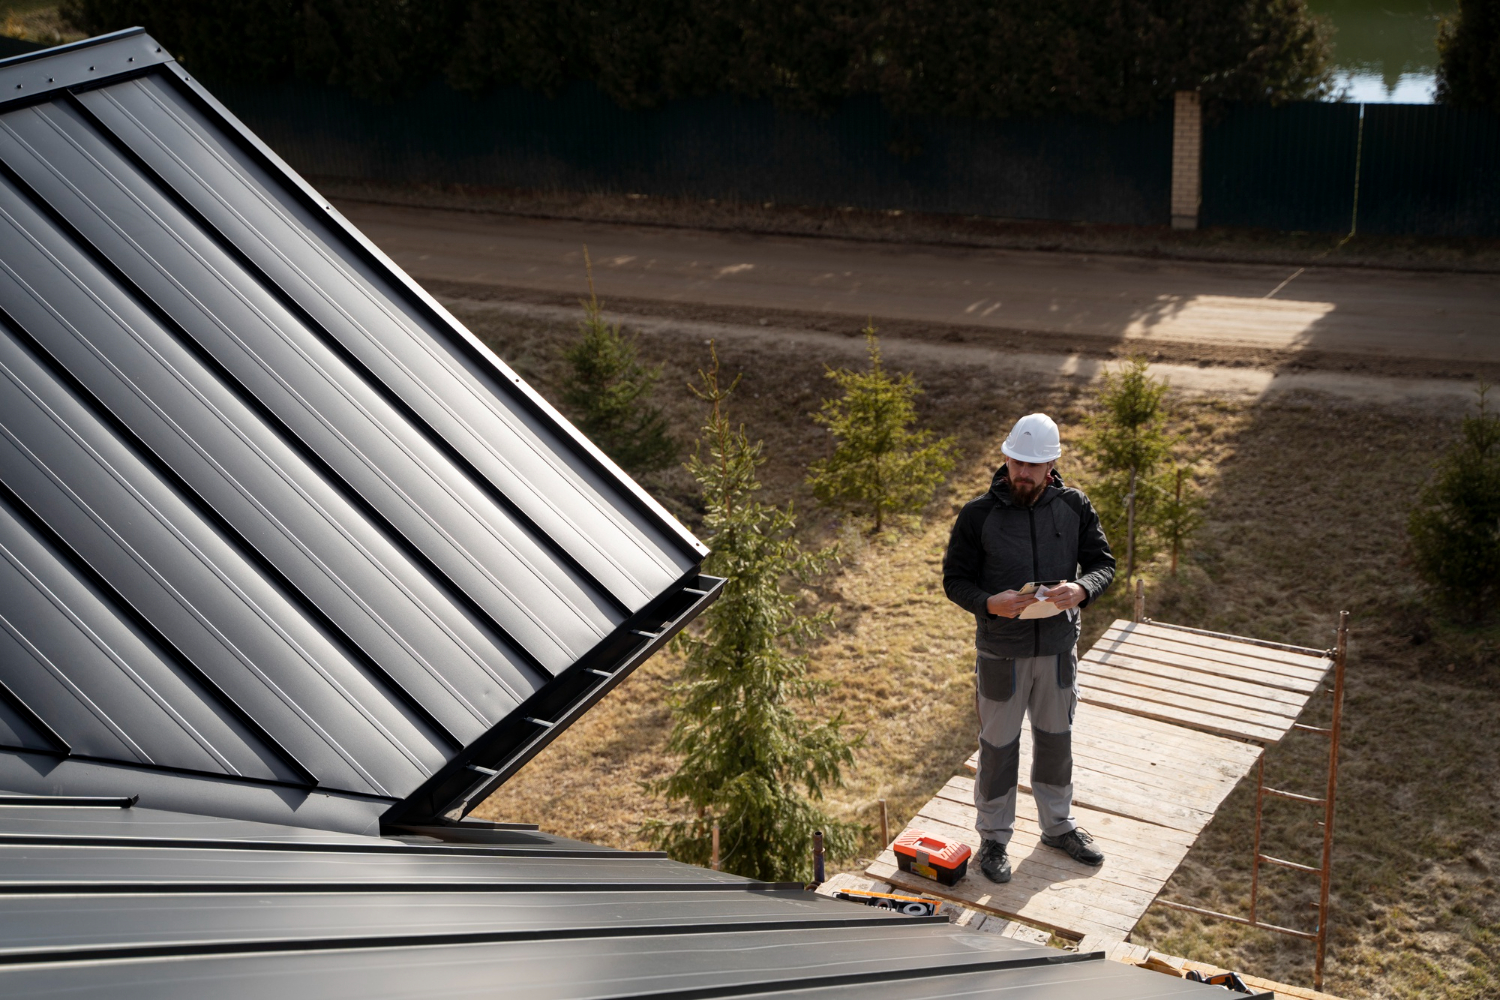
Roofing is one of the most critical components of any home. It safeguards your property, provides energy efficiency, and enhances overall comfort. However, even the sturdiest roofing systems rely on smaller yet vital components to ensure they perform optimally. One such component is roof flashing. Whether you’re a contractor in the roofing industry or a homeowner investing in roof repairs, understanding roof flashing is essential for maintaining a durable and watertight roof.
What Is Roof Flashing and What Does It Do?
Roof flashing is a thin material, often made of metal like aluminum, copper, or galvanized steel, designed to redirect water away from vulnerable areas on a roof. It is typically installed around features such as chimneys, vents, skylights, and valleys, where the roof’s plane meets structural interruptions or other components. The primary function of flashing is to seal these intersections to prevent water from seeping through seams or gaps, which can lead to extensive damage over time.
By preventing water penetration, roof flashing plays a critical role in protecting your home from moisture intrusion, helping to reduce the risk of leaks, mold buildup, and other structural issues caused by water damage.
Common Types of Roof Flashing
Roof flashing comes in various types, each designed to address specific roofing needs. Understanding these will help you identify the right solutions for your roof or your client’s roof:
1. Step Flashing
Step flashing is commonly used on roofs with wall or chimney intersections. It consists of small metal pieces bent at a 90-degree angle, installed in an overlapping pattern where shingles meet the wall surface. These durable pieces work in tandem with shingles to guide water onto the roof, directing it safely away from the wall.
2. Valley Flashing
Valley flashing is used in roof valleys, where two slopes meet and naturally channel water. This type of flashing is typically a long, V-shaped metal strip that directs water flow into gutters or away from the roof’s surface.
3. Vent Pipe Flashing
This flashing type is installed around vent pipes protruding from the roof. It includes a metal or rubber boot designed to create a watertight seal around the pipe while allowing water to flow over and off the roof.
4. Drip Edge Flashing
Drip edge flashing is installed at the eaves and edges of a roof. It helps guide water away from the roof’s edge to prevent water from soaking into the underlying materials or dripping down onto walls.
5. Continuous Flashing
Also known as apron flashing, this is a single long piece of metal used to divert water along the length of a roof-wall intersection. Continuous flashing is often used to prevent water pooling in problematic areas along vertical walls.
How Flashing Integrates with Underlayment Systems
Roof flashing doesn’t operate in isolation; it works hand-in-hand with underlayment systems to create a robust water barrier. The underlayment, an essential layer of protective material installed beneath shingles, adds an extra line of defense against water intrusion. Flashing complements this system by providing localized protection where water exposure and seepage are most likely. When properly installed, flashing and underlayment create a seamless, overlapping design that efficiently sheds water while safeguarding the structural integrity of the roof.
High-quality underlayment solutions, like those offered by FoamBond, are especially critical when paired with roof flashing to withstand California’s diverse climate conditions, including heavy rains, sun exposure, and fluctuating temperatures.
Risks of Poor or Damaged Flashing
Flashing may seem like a small component, but neglecting it can result in significant issues. Here are some common risks associated with poor or damaged flashing:
- Leaks and Water Damage
Compromised flashing leaves open pathways for water to seep into cracks and crevices. Over time, this can result in leaks that damage roofing materials, ceilings, and walls. - Mold and Mildew Growth
Persistent water infiltration can create a damp environment ideal for mold and mildew, which compromises air quality and can lead to health issues. - Structural Weakening
Prolonged exposure to moisture can weaken wooden roof structures, leading to sagging, rot, or even collapse in severe cases. - Reduced Energy Efficiency
Improper flashing can allow air and moisture leaks, leading to increased heating and cooling costs by disrupting the home’s insulation capability.
Best Practices for Flashing Installation and Inspection
To ensure your roof remains in excellent condition, it’s crucial to follow best practices for flashing installation and inspection:
- Professional Installation
Proper flashing installation requires expertise, precision, and the right materials. Partnering with professional roofers ensures that flashing is installed according to industry standards. - Regular Inspections
Conduct routine checks of your roof flashing, especially after severe weather, to identify any signs of damage, lifting, or corrosion. - Quality Materials
Invest in durable, weather-resistant flashing materials that can withstand California’s challenging climate conditions. - Seamless Integration with Roofing Systems
Ensure flashing integrates appropriately with roofing materials, underlayment, and drainage systems to create a cohesive water management solution.
Protect Your Roof with Confidence — Choose FoamBond
When it comes to roofing underlayment, durability and performance matter. At FoamBond, we provide high-quality, energy-efficient solutions designed to withstand California’s diverse climate conditions. Whether you’re a contractor or a homeowner, our products are engineered to protect what matters most — your home, your investment, and your peace of mind.
Contact us today at 866-404-5440 or email us at office@foambond.com to learn how FoamBond can support your next roofing project with industry-leading innovation and reliability.


